Patch Shapes Guide: How to Choose the Right Shape for a Custom Patch
 By Sunny Huang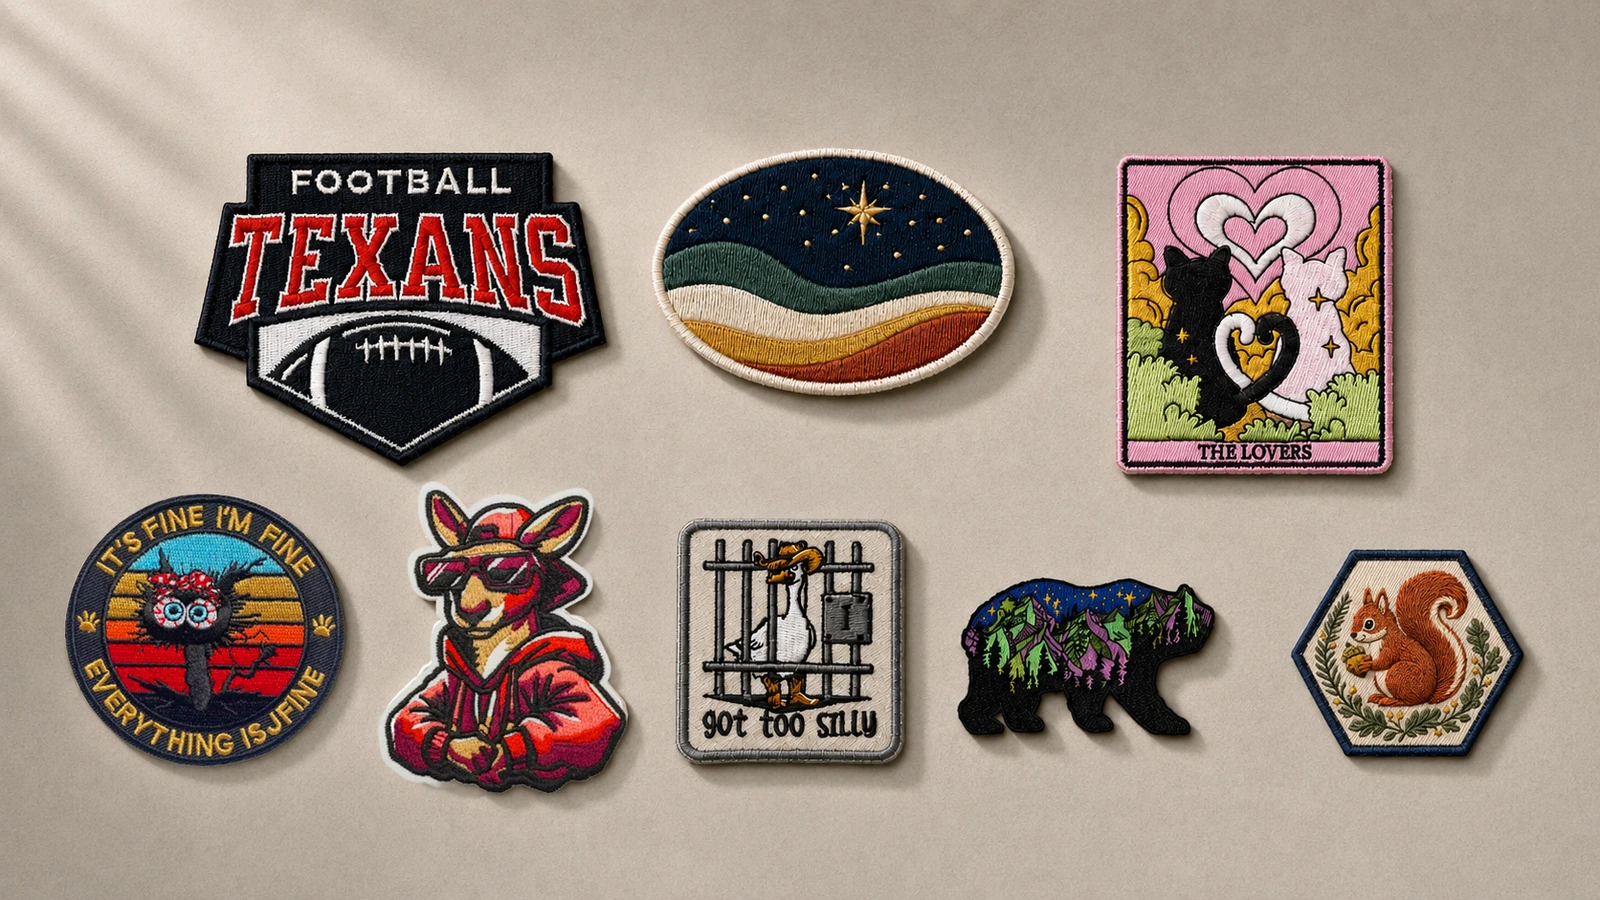
Choosing a patch shape may look like a visual decision, but the outline affects artwork fit, text space, border choice and how the finished patch sits on a hat, sleeve, jacket or bag.
Common patch shapes include circles, ovals, squares, rectangles and shields. A patch can also follow a logo, mascot or product outline, but a custom silhouette is not automatically the better choice. The right shape keeps the design clear and suits the surface where it will be used.
Common Patch Shapes at a Glance
| Shape | Often works well for | Main consideration |
|---|---|---|
| Circle | Emblems, clubs, events and compact logos | Long horizontal text can become crowded |
| Oval | Wide logos, hat patches and name-based designs | Tall artwork may lose useful space |
| Square | Icons, modern branding and balanced graphics | Sharp corners may not suit every border |
| Rectangle | Names, wordmarks and uniform identification | Long patches need enough flat placement area |
| Shield | Schools, teams, recognition and group identity | Narrow points may need to be simplified |
| Custom outline | Mascots, product silhouettes and distinctive logos | Small projections and deep cut-ins may not reproduce clearly |
Use this table as a starting point. Designs with the same outside dimensions may still need different shapes because their text, proportions and placements differ.
Round Patches
A circle creates a balanced frame and gives the design a clear center. Round patches suit emblems with a central icon, short perimeter wording or artwork that needs to look consistent from different viewing angles.
They are common for clubs, community events, schools and brand emblems, especially when a coordinated series needs consistent outside dimensions.
The limitation is horizontal space. A long business name may need to curve around the edge, use smaller lettering or be divided into several lines. If this weakens readability, an oval or rectangular shape may be more practical.
Oval Patches
An oval keeps the visual balance of a circle while providing more width. This makes it useful for horizontal logos, short names and artwork intended for the front of a cap or the chest of a garment.
Check the available area at actual production size. A very wide oval can leave little vertical room for an icon, while a tall design may look compressed. The shape should follow the artwork proportions rather than force the artwork into an unsuitable frame.
Square and Rectangular Patches
Square patches provide an efficient area for icons, monograms and modern geometric designs, especially when the artwork already has a balanced, block-like composition.
Rectangles are usually more suitable for wordmarks, name patches and horizontal identification. Rounded corners can soften the appearance and help the outline integrate with apparel.
Placement matters with longer rectangles. A name patch on a flat chest panel has different requirements from a long patch near an elbow or another bending area. Before approval, check the available space, nearby seams and normal garment movement.
Shield and Badge Shapes
Shield and badge outlines create a formal, emblem-like appearance. They are common for schools, teams, clubs, staff identification and recognition programs, but they are not limited to uniforms.
These shapes provide a strong visual hierarchy: an icon can occupy the center while a name, date or short message sits above or below it. The lower point should not become so narrow that it reduces design space or creates a fragile-looking projection.
A simplified shield usually reproduces more clearly than one with many small corners and decorative cut-ins.
Custom-Shaped Patches
A custom-shaped patch follows a distinctive part of the artwork instead of placing everything inside a standard frame. It can work well for a mascot, product outline or recognizable brand symbol when the silhouette remains clear.
Not every logo detail needs to become part of the outside edge. Fine antennae, narrow branches, small flames, isolated letters and deep notches may look acceptable on a screen but become impractical at patch size. These elements can often move inside a simpler outline.
Artwork with disconnected elements may need a background shape to join them into one practical patch. The exported canvas should not determine that shape automatically; a rectangular artwork background may simply be part of the file format.
Standard Shape or Custom Outline?
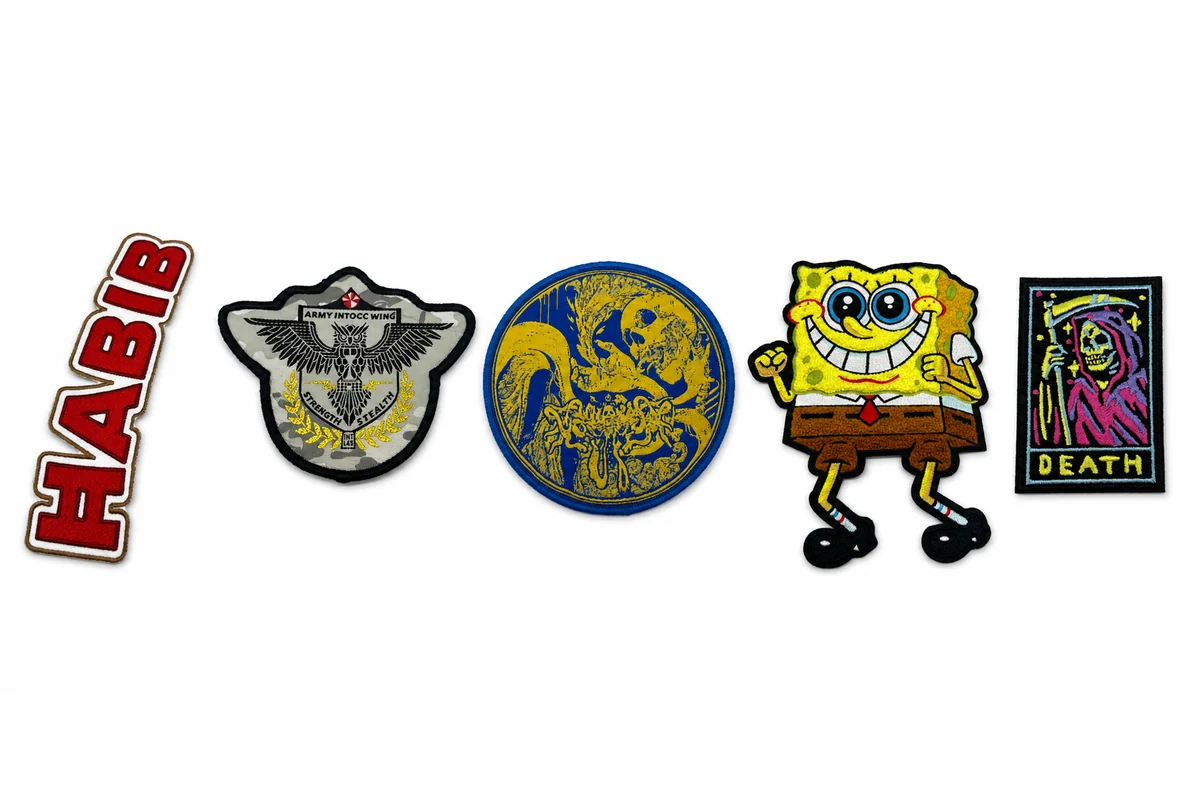
Choose a standard shape when clarity and consistency are the main priorities. Circles, ovals, rectangles and shields help departments, events or product versions look coordinated and provide predictable space for names and other wording.
A custom outline makes sense when the silhouette itself supports recognition. A mascot-shaped retail patch, for example, may be more memorable without a surrounding rectangle.
Ask four questions before choosing:
- Is the design still recognizable as a simple silhouette?
- Will the text remain readable at the intended size?
- Does the outline suit the garment or product?
- Can the selected border follow the edge cleanly?
If the custom outline does not improve recognition or visual balance, a standard shape is often the better decision. Review finished custom patches before confirming the outline.
How Shape Affects the Patch Border
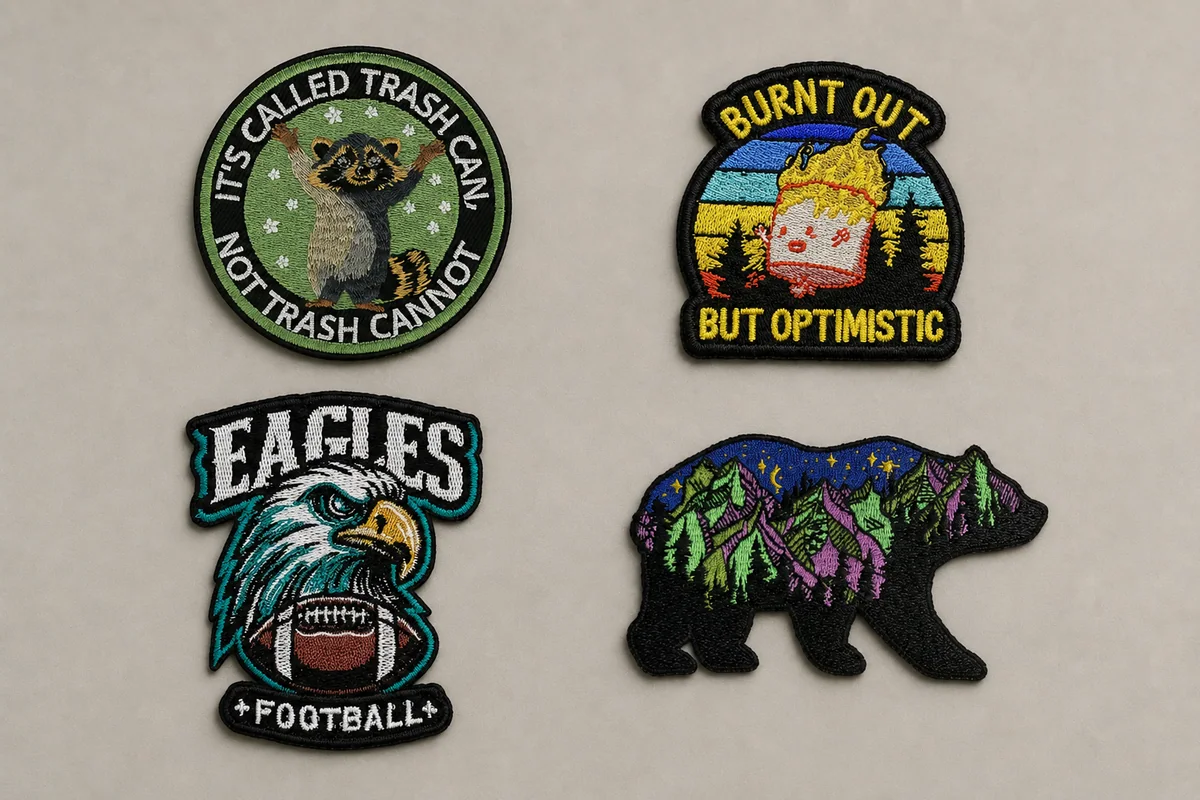
The shape and border should be selected together. A border is not just a decorative line added after artwork approval; it forms the finished edge.
A traditional merrowed border produces a thick, raised edge. It is generally best suited to smooth, regular outlines such as circles, ovals, squares, rectangles and simple shields.
More intricate silhouettes may use a flatter embroidered edge or a heat-cut or laser-cut finish, depending on the patch material and construction. These flatter edge methods can follow tighter curves without adding a heavy raised rim around every point.
Terminology and available finishing methods may vary between manufacturers, so buyers should confirm the proposed border on the digital proof instead of assuming every patch type supports the same edge treatment.
Choosing a Shape for the Final Placement

A shape that looks good by itself may not fit every application equally well. For placement examples, see common uses for custom patches.
Hats
The front panel of a hat is limited in height and width and may be curved. Compact ovals, rounded rectangles and simplified custom shapes are common choices. Oversized squares and rigid corners should be reviewed on an actual hat mockup.
Chest and Pocket Areas
Circles, small shields, squares and rectangles can all work on the chest. Name-based designs usually benefit from a horizontal layout. Check pockets, zippers, buttons and seams before confirming size.
Sleeves and Shoulders
Sleeve patches need to fit a narrower area and move with the garment. Circles, ovals, shields and compact custom outlines are practical starting points. Avoid narrow projections across seams or bending areas.
Jacket Backs
A jacket back provides more room for detailed artwork, large circles, shields and custom silhouettes. More space does not mean every detail should be retained; the design still needs to read at a normal viewing distance.
Bags and Accessories
Backpacks and tote bags often provide flat areas, allowing more shape options. The space, fabric thickness and attachment method should still be confirmed before production.
Does Patch Material Limit the Shape?
Most common patch materials support both standard and custom outlines, but detail reproduction differs by construction.
Embroidered patches use thread, so bold shapes and clear lines usually translate more reliably than very fine elements. Woven patches can show finer flat details, but their outside edges still need a practical cutting and finishing path.
PVC patches are molded rather than stitched and can create defined dimensional outlines, although narrow extensions still need enough material to remain stable. Printed patches can reproduce gradients and complex imagery, but internal detail still needs a clean outer edge.
Leather and faux leather patches often suit straightforward silhouettes that keep an engraved or debossed logo readable. Chenille suits larger shapes and lettering because textured yarn is not intended for very fine detail. Select material with the shape, artwork and intended appearance, not as a separate decision.
Common Patch Shape Mistakes
Several problems can be prevented before the first digital proof:
- Treating the rectangular artwork canvas as the finished patch edge.
- Adding too many small points, narrow bridges or deep cut-ins.
- Choosing the shape without checking the intended placement.
- Allowing text or important details to sit too close to the border.
- Making a standard logo unnecessarily complicated to appear more custom.
- Approving the outline before deciding how the edge will be finished.
- Reviewing the design only at an enlarged screen size.
Check the final proof at approximately the intended finished size to judge text clarity, spacing and silhouette strength.
Patch Shape Approval Checklist
Before placing an order, confirm the following:
- The intended garment, accessory or display position.
- The approximate finished width and height.
- Whether the artwork needs a standard frame or custom outline.
- Whether small projections or gaps require simplification.
- The proposed border or edge finish.
- The backing and attachment method.
- The quantity, required delivery date and packaging needs.
Send the cleanest available logo or artwork file. Include placement and approximate dimensions rather than sending the design alone, so the artwork team can recommend a practical shape. If the outline and basic specification are ready, you can request a custom patch quote.
Frequently Asked Questions About Patch Shapes
What are the most common patch shapes?
Circle, oval, square, rectangle and shield are among the most common choices. Custom patches can also follow a simplified logo, mascot or product silhouette.
What is the best shape for a custom patch?
There is no single best shape. The right option depends on the artwork proportions, text, finished size, border and intended placement.
Can a patch follow the exact shape of my logo?
Often it can, but small projections, deep recesses and disconnected elements may need to be simplified or placed inside a supporting background shape.
Which patch shapes work best on hats?
Compact ovals, rounded rectangles and simple custom shapes are useful starting points. The best choice depends on the hat panel, patch dimensions, material and backing.
Can an irregular patch have a merrowed border?
Some smooth, simple custom outlines may support a merrowed border. Complex shapes with tight corners or deep cut-ins generally require a different edge treatment. The final choice should be confirmed from the actual artwork.
Final Thoughts
Good outlines support the artwork instead of competing with it. A standard circle or rectangle can provide clarity, while a custom silhouette can strengthen a mascot or brand symbol. Make the decision using the finished size and placement, not only the enlarged artwork on screen.
When shape, border, material and application are reviewed together, the final patch is more likely to look balanced, remain readable and fit its intended use.