
How Are Custom Challenge Coins Made?
 By Sunny Huang
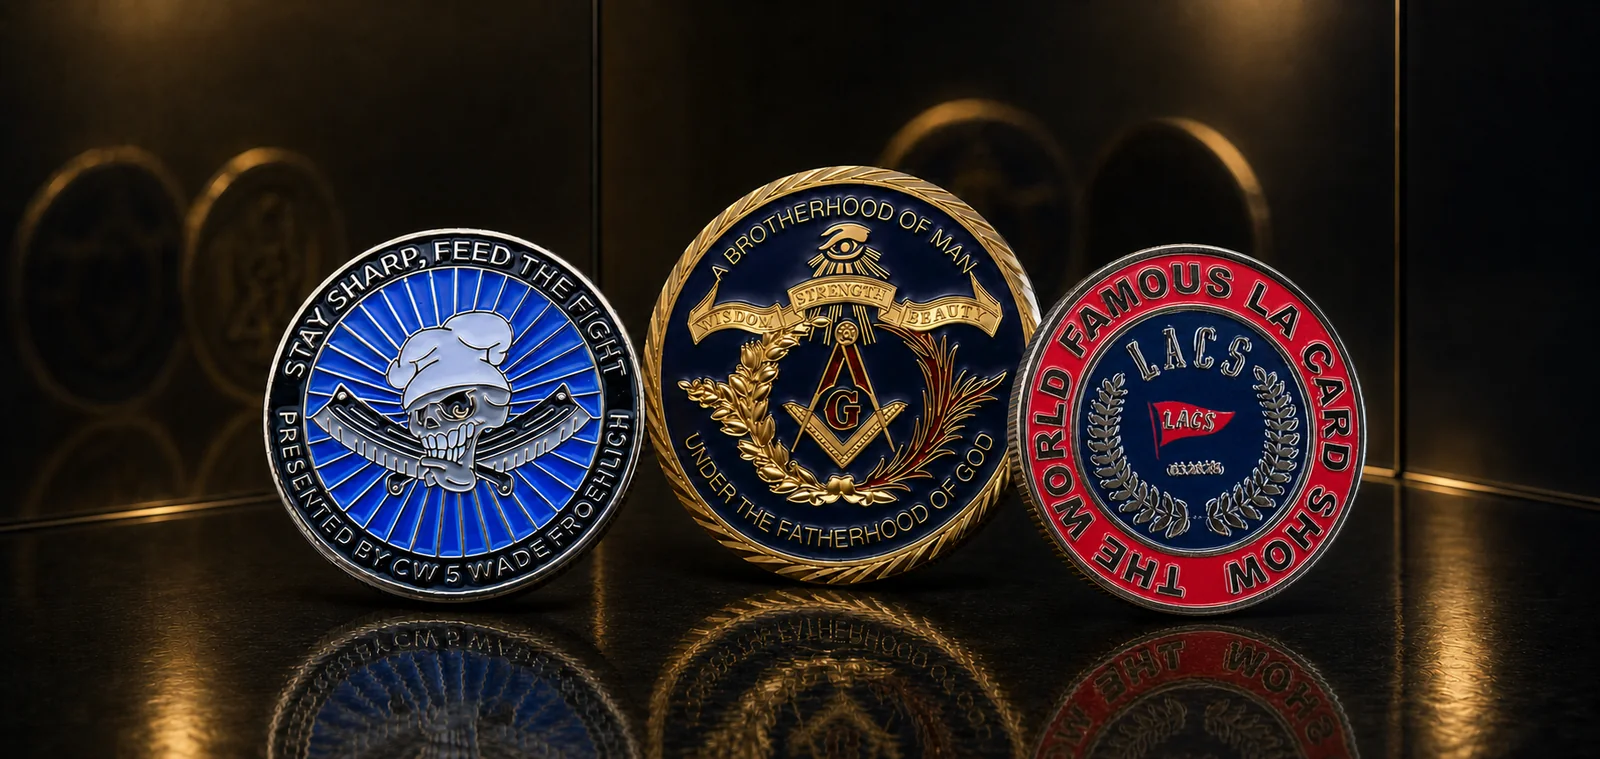
The short answer: challenge coins are commonly produced by preparing the artwork, creating a die or mold, forming the metal blank, polishing, plating, adding enamel or other finishes when required, inspecting and packaging. The exact process varies with the design, material, relief and finish.
Custom challenge coins are made through a controlled manufacturing process that turns a logo, badge, sketch, or idea into a finished metal coin. For buyers, the useful part is not only knowing the steps. It is knowing which details must be confirmed before tooling starts, because unclear artwork, weak relief, color mistakes, and late packaging changes can all affect the final order.
This guide explains the challenge coin manufacturing process from artwork preparation and digital proofing to tooling, die-striking or die-casting, finishing, color filling, final inspection, and shipment preparation. Each step has a practical effect on weight, surface detail, color clarity, delivery planning, and the way the finished coin is presented to the recipient.
For related buying decisions, review our 2D vs 3D challenge coin comparison, custom challenge coins page, custom metal crafts guide, and custom medals vs challenge coins comparison.
Step 1 - Submit Your Design or Idea
The process starts when the customer sends a logo, badge, sketch, text, reference image, or rough concept. Some buyers already have a clean vector file. Others begin with a screenshot, department emblem, event name, or hand-drawn idea that needs to be rebuilt before production.
At this stage, a custom challenge coin manufacturer is not simply redrawing a file. The artwork must be adjusted for raised metal lines, recessed color areas, coin edge, back-side layout, tooling depth, and the selected metal finish.
The application also matters. A military recognition coin, police department coin, corporate anniversary coin, and collector coin may need different choices for finish, presentation box, color contrast, and delivery timing. A coin used at a formal ceremony, for example, usually needs more attention to box presentation and surface consistency than a simple giveaway order. For service recognition projects, review military challenge coin traditions and etiquette before finalizing the presentation plan.
Step 2 - Confirm Size, Thickness and Specifications
Before digital proofing, the main specifications need to be fixed. Common challenge coin sizes are usually around 1.5 to 2.5 inches, with 1.75 inches and 2 inches being practical choices for many projects. Larger coins can show more detail, but they also use more metal and increase shipping weight.
Thickness affects both cost and perceived quality. The order confirmation should also cover 2D or 3D design, one-sided or double-sided artwork, color filling, metal finish, edge style, numbering, and presentation option. These details make the quotation more accurate and reduce the risk of changes after tooling has started.
For export orders, it is useful to keep these specifications in the quotation or production confirmation. A small difference in thickness, finish, or presentation box can change the unit cost, carton volume, and final delivery plan. Clear specifications also give the factory a stable standard for sample checking and mass production inspection.
Step 3 - Create and Approve the Digital Proof
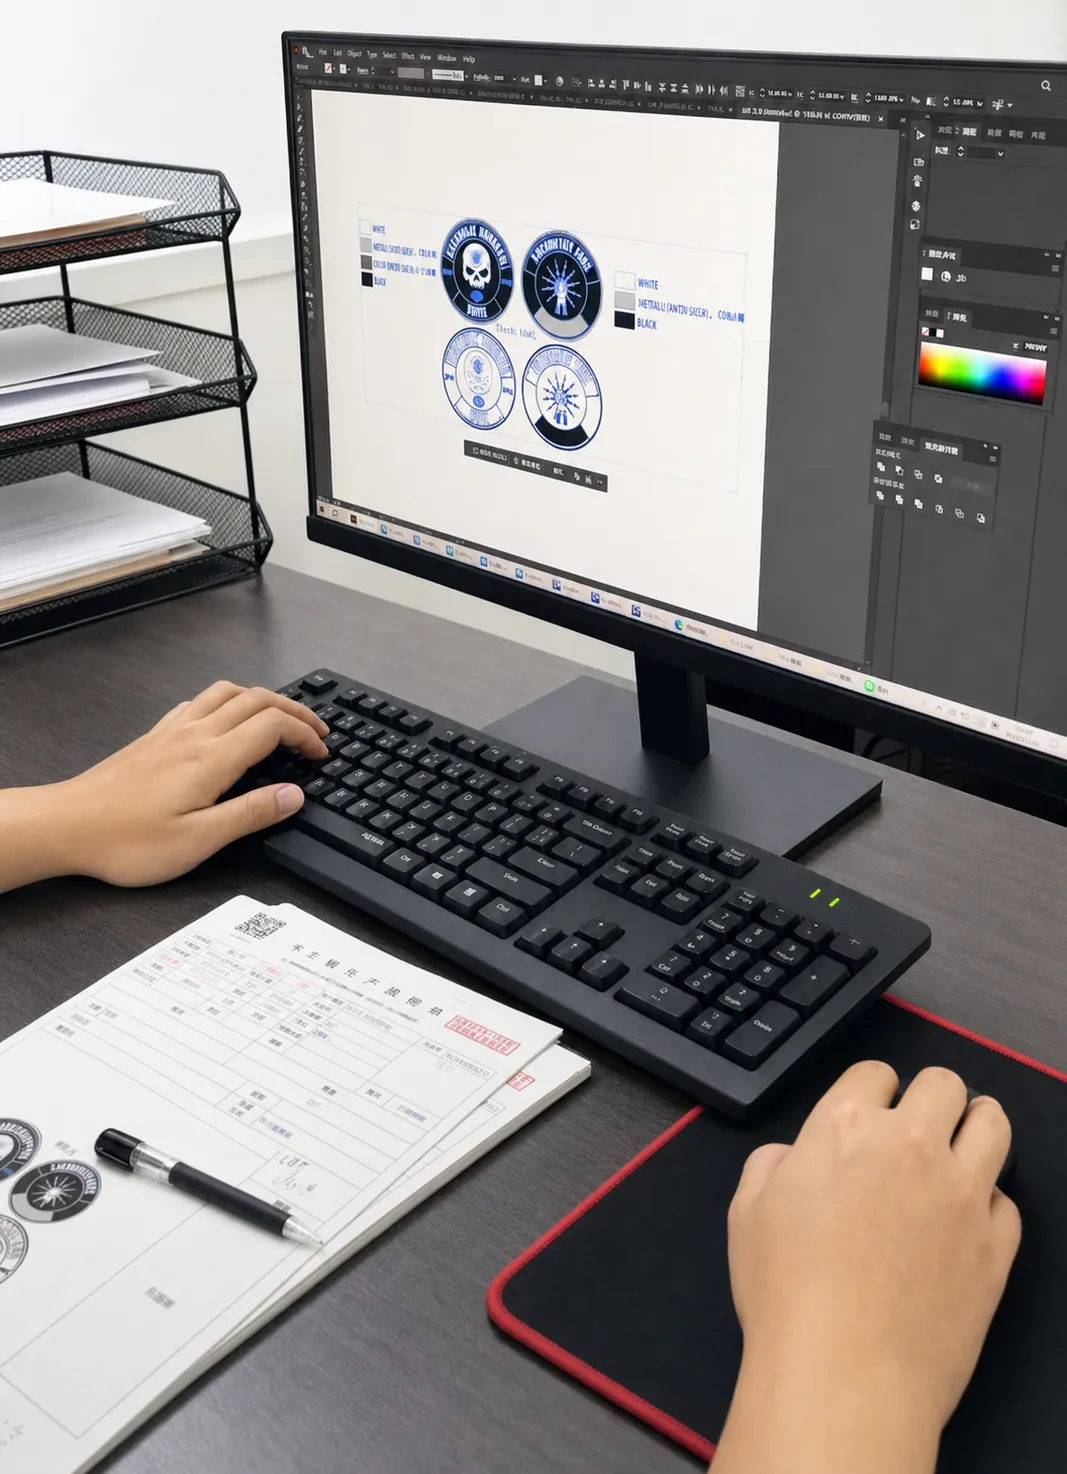
After the specifications are clear, the factory prepares a digital proof. This proof shows how the custom challenge coin will be produced, including the front design, back design, size, metal finish, color references, edge style, and any special details.
Proof approval is the point where small problems are still easy to correct. Check spelling, dates, logo position, text readability, Pantone references, border balance, front and back alignment, and final size. Small text or thin lines may need adjustment before tooling begins.
If a design includes fine badge details, curved text, gradients, QR codes, or photo-like artwork, the manufacturer should explain whether color filling, printing, 2D relief, or 3D relief is more practical.
A useful production proof should also show which areas are raised metal, which areas are recessed, and where enamel or printing will be applied. This helps the buyer approve the real manufacturing structure instead of looking only at a flat graphic image.
Step 4 - Create the Mold
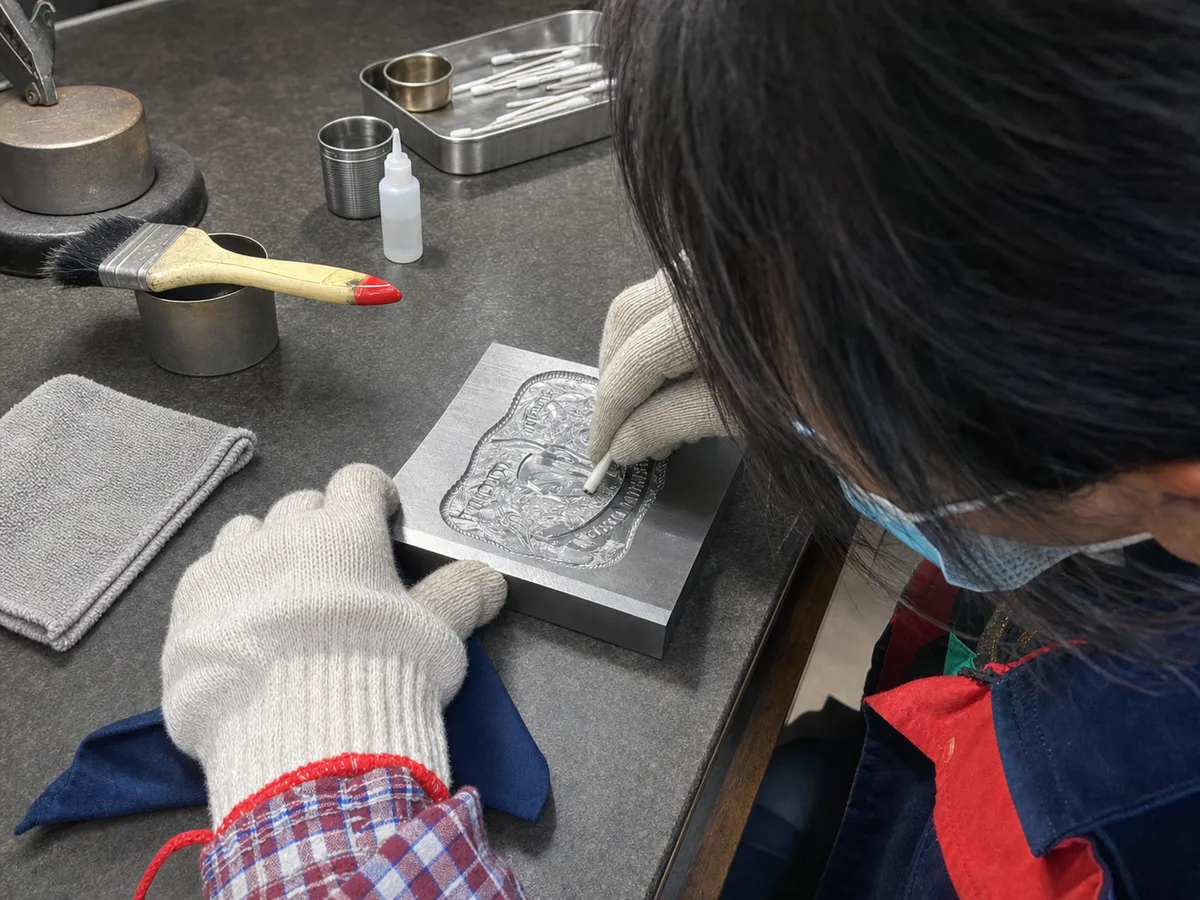
Once the digital proof is approved, the factory prepares the production tooling. The mold or die determines the raised and recessed metal areas of the coin. For detailed designs, tooling accuracy is critical because it controls the final relief, texture, and overall shape.
Tooling development may involve CNC engraving or other precision equipment. Complex shapes, deep 3D relief, cutout areas, multiple levels, or detailed artwork take more time to convert into a workable production structure.
Design changes after tooling starts may require adjustment or a new mold, which can add cost and delay the schedule. This is why proof review should be treated as a production decision, not only a visual check.
For designs with deep relief or very small lettering, the tooling review should focus on practical readability. A coin may look dramatic in a rendering, but the die still needs to allow clean metal flow, stable edges, and details that can survive polishing and surface finishing.
Step 5 - Die-Striking or Die-Casting
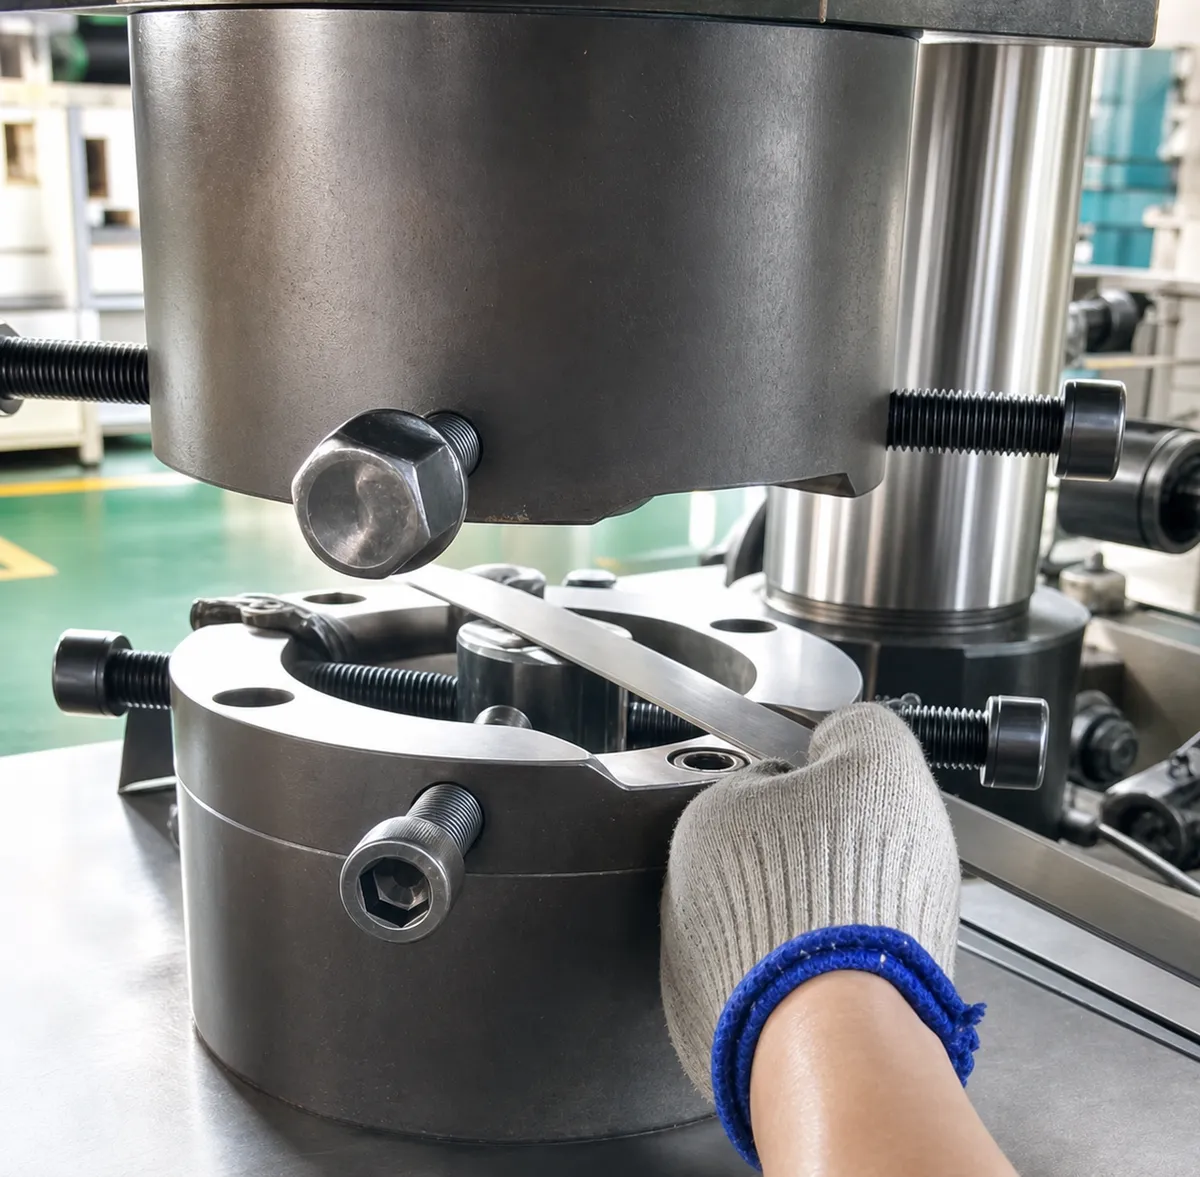
Challenge coins are commonly produced by die-striking or die-casting. The right method depends on the design, metal material, shape, relief depth, budget, and how the coin needs to feel in hand.
Common challenge coin materials include iron, brass and zinc alloy: iron is often selected for straightforward stamped 2D designs and cost-sensitive projects; brass is denser and suits crisp die-struck detail; zinc alloy is typically die-cast when a design needs deep 3D relief, cutouts or a custom outline. The material should be confirmed with the artwork and finish, because it affects the manufacturing method, perceived weight, detail limits and surface result.
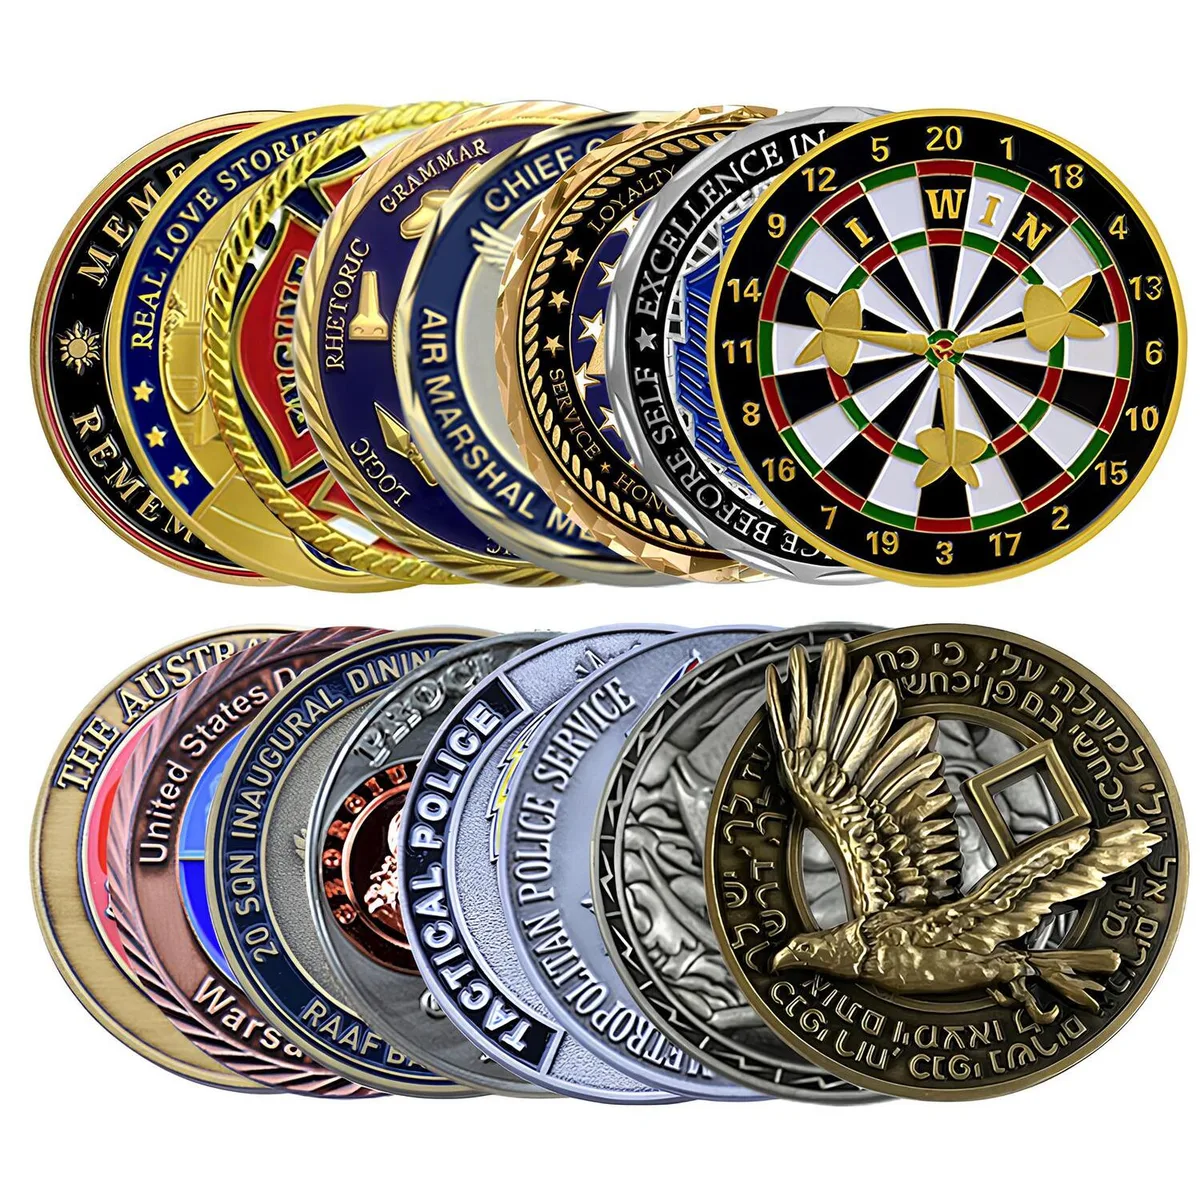
Die-struck challenge coins are made by pressing the design into metal using a die. This method is suitable for traditional coins with clean relief, strong metal detail, and a premium hand feel. It works well for military coins, police coins, corporate recognition coins, and classic emblem designs.
Die-cast challenge coins are made by injecting molten metal into a casting tool. This method is useful for complex shapes, deep 3D relief, cutout designs, and irregular outlines. It gives more flexibility for sculpted details, but the final effect still depends on tooling quality and finishing.
The choice between die-striking and die-casting affects detail, cost, texture, production time, and final appearance, so it should be decided before pricing is treated as final.
In factory review, die-striking is often preferred when the buyer wants a classic coin structure with crisp borders and strong raised metal lines. Die-casting is often considered when the coin shape is not round, when the design includes cutout areas, or when the 3D relief is too deep for a simpler stamped structure.
Need Help Reviewing a Challenge Coin Design?
Send your logo, quantity, size, finish preference and deadline. We can review the best production method before quoting.
Step 6 - Trimming, Polishing and Edge Finishing
After the coin body is formed, excess metal and rough edges are removed. Trimming and polishing help the coin reach its final shape before surface finishing. Edge options may include plain edge, rope edge, reeded edge, wave edge, diamond-cut edge, edge text, or numbering.
A clean edge makes the coin feel more professional in hand and helps the finished product match the approved proof.
Step 7 - Plating and Enamel Coloring
Plating gives the coin its visible metal tone. Common options include gold, silver, copper, bronze, black nickel, antique gold, antique silver, and antique bronze. Antique finishes are often used for 3D challenge coins because they highlight depth and relief. Bright gold or silver can look clean and formal, while black nickel creates strong contrast with bright colors.
After plating, color may be added to recessed areas. Soft enamel is widely used for colorful challenge coins, while hard enamel can create a smoother surface. For gradients, photos, or very fine details, printing may be more practical than enamel filling.
Metal finish and coloring should be checked under normal lighting because bright finishes and antique finishes can look different from digital previews. For brand or unit colors, Pantone references help reduce misunderstanding, but buyers should still allow a reasonable tolerance because metal, enamel, and screen colors do not behave exactly the same.
Step 8 - Baking and Final Polishing
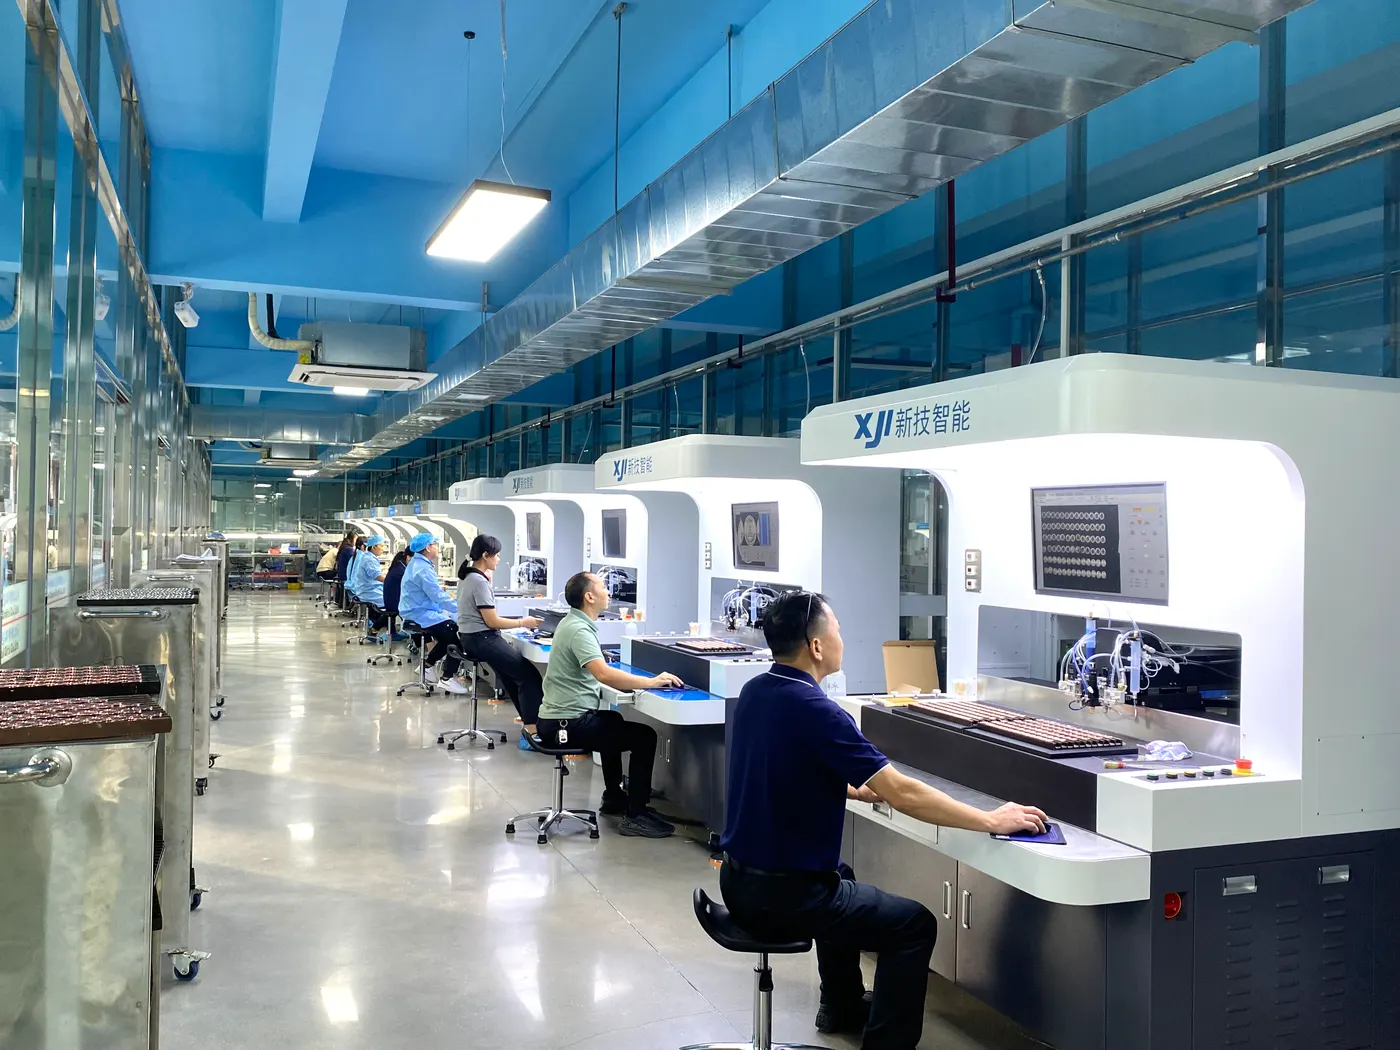
After enamel coloring, the coins may go through baking or curing so the color can harden properly. Without enough curing time, colored areas are more likely to mark during later polishing or handling.
Final polishing cleans the surface and improves appearance. Bright finishes need careful handling because small marks can be more visible, while antique finishes should keep darker recessed areas and clear raised details.
Step 9 - Quality Inspection
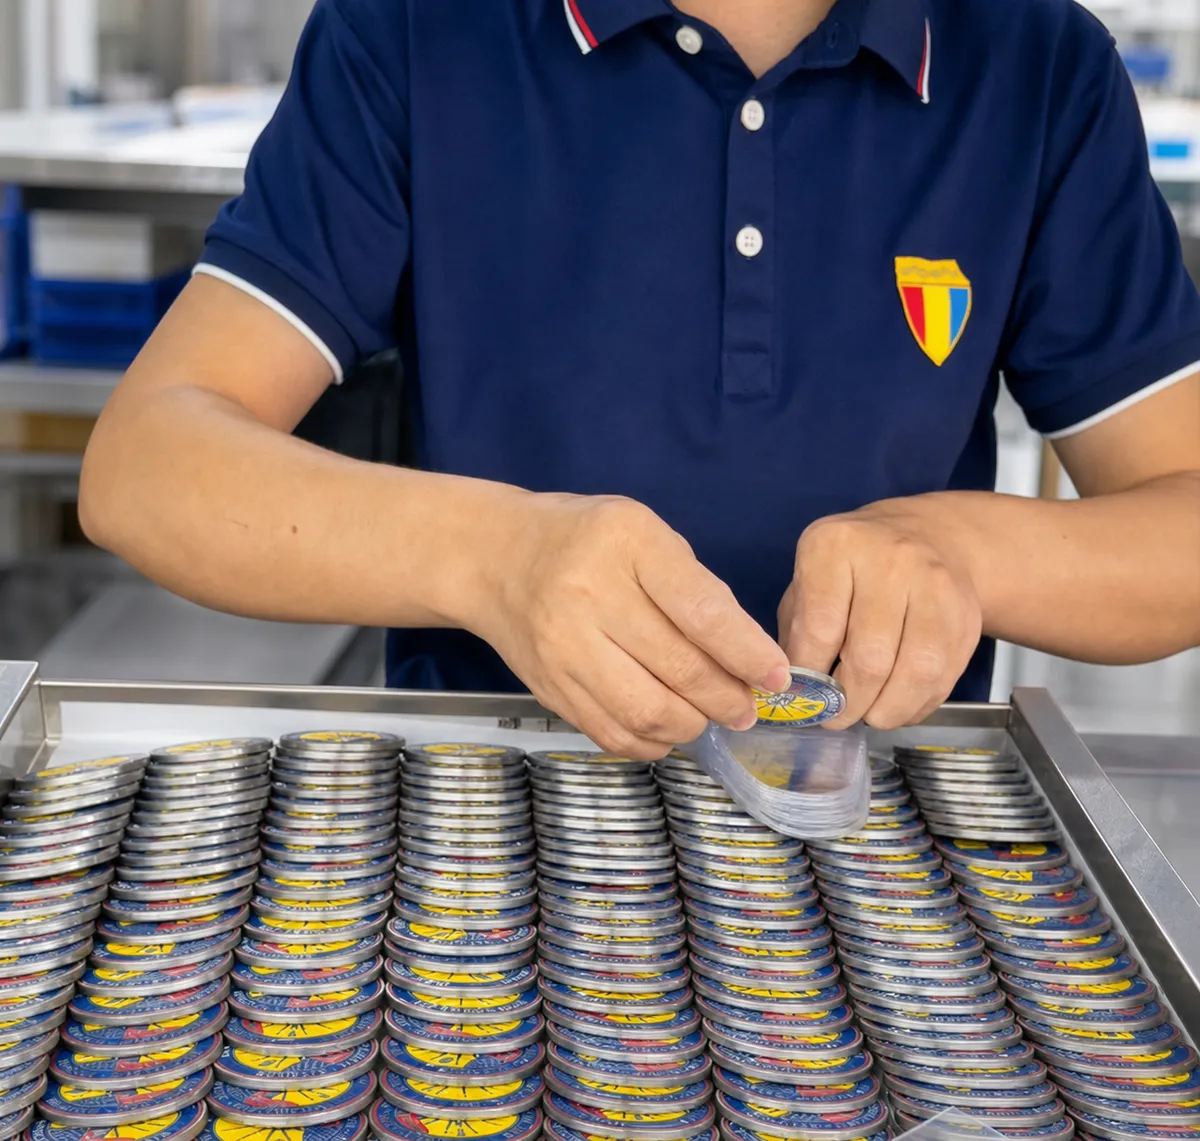
Quality inspection should be done before packing and shipment. For export orders, it is usually cheaper to slow down at this stage than to discover surface defects or quantity errors after the cartons arrive.
Inspection usually includes size and thickness, artwork clarity, front and back alignment, color accuracy, finish consistency, surface scratches, edge smoothness, color overflow, packing accuracy, and quantity confirmation.
If the coins are for an event, ceremony, or official presentation, leave enough time for final inspection before shipment.
For bulk orders, inspection should include both appearance checks and packing checks. The factory should compare finished coins against the approved proof, review several cartons from the batch, and confirm that labels, quantities, and packing methods match the customer requirements.
Step 10 - Packaging and Shipping
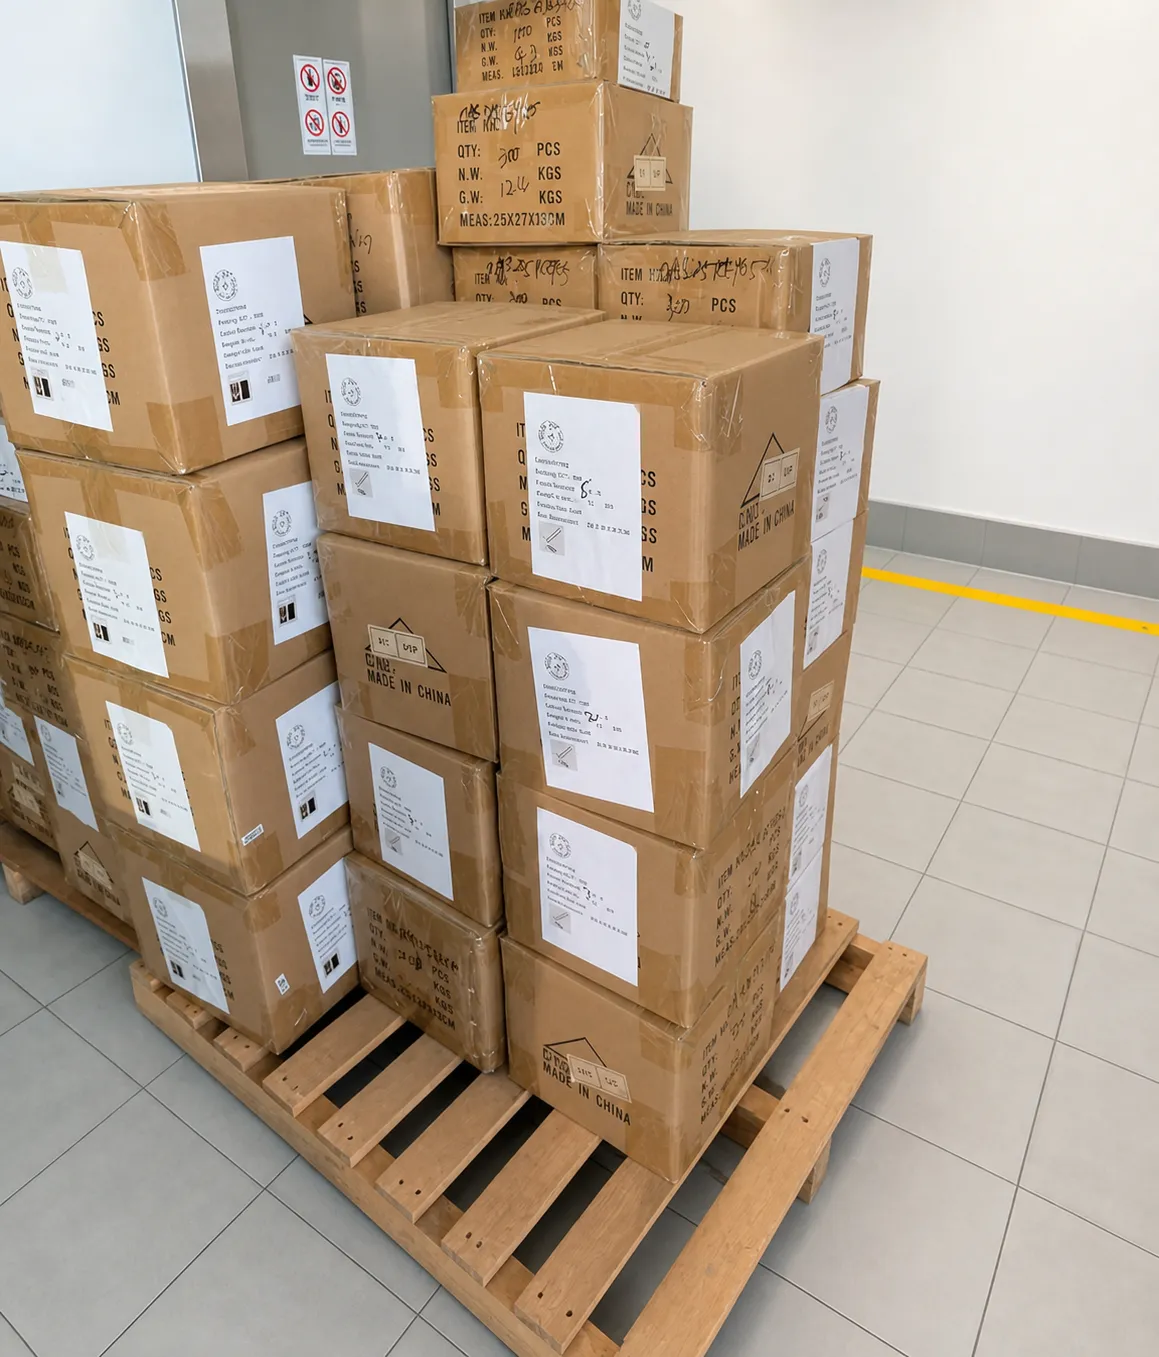
Packaging depends on how the coins will be used. Simple poly bags may be suitable for internal distribution or bulk handouts. Velvet pouches, acrylic capsules, paper boxes, or gift boxes are better for formal recognition, corporate gifts, collector coins, and retail products.
The packing method should be confirmed before mass production because it affects cost, carton size, and shipment planning. Retail orders may require barcode labels, SKU labels, backing cards, inner cartons, or specific export carton markings.
Production time depends on artwork approval, mold complexity, order quantity, finish, color work, packaging requirements, and factory schedule. If the order is tied to a ceremony, trade show, or launch date, share the deadline at the first inquiry.
Before shipping, the packing list, carton marks, gross weight, carton size, destination country, and delivery method should be checked. This step is simple, but it helps avoid shipment delays caused by missing labels, incorrect carton information, or unclear delivery instructions.
Die-Struck vs Die-Cast Challenge Coins
Both methods can produce professional results when the process matches the artwork. The table below gives a practical comparison before confirming production.
| Item | Die-Struck Challenge Coins | Die-Cast Challenge Coins |
|---|---|---|
| Best for | Traditional coins, badges, clean relief, text-based designs | Complex shapes, cutouts, deep 3D forms, irregular outlines |
| Appearance | Crisp metal relief and classic coin feel | Flexible shape and stronger sculpted effects |
| Detail style | Clear raised and recessed areas | More suitable for complex dimensional forms |
| Common use | Military coins, police coins, corporate recognition coins | Collector coins, shaped coins, 3D designs, specialty coins |
| Buyer note | Good for premium traditional presentation | Good when the design needs shape flexibility |
Frequently Asked Questions
How long does it take to manufacture challenge coins?
Manufacturing time depends on artwork approval, mold complexity, quantity, finish, color work, packing method, and shipping route. Share the required delivery date at the first inquiry.
What artwork files should I submit?
Vector files such as AI, PDF, EPS, or SVG are helpful, but a logo, sketch, reference image, or clear concept can also be used for initial review.
Can both sides of a challenge coin be customized?
Yes. Many custom challenge coins use both front and back designs. The back side can include a motto, date, unit name, event name, serial number, QR code, or secondary logo.
Conclusion
Custom challenge coins are made through a detailed process, from design submission and digital proofing to tooling, die-striking or die-casting, surface finishing, color work, polishing, inspection, packing, and shipment.
The strongest orders usually start with clear artwork, confirmed specifications, a careful proof review, the right production method, and agreed packing details before mass production. Those decisions help the finished coins match the intended application instead of simply looking acceptable in a digital preview.
Ready to Make Custom Challenge Coins?
Send your artwork and requirements to Unique Pin. We will review your design, recommend the right manufacturing process, and prepare a practical factory quotation.